The Cold Reality of Photography for Beginners: Building What Google Can’t Touch
If your phone can blur a background yet your camera stays on Auto, this guide compresses photography for beginners into concrete moves you can try today: three exposure decisions, four composition fixes, and a lean workflow that prevents overwhelm. You will see why a $120 prime lens often beats a $1,000 zoom for portraits, how to pick a shutter speed that actually freezes your kid’s sprint, and when a white wall works better than any flash.
You want clarity on what to buy, how to shoot, and how to edit without drowning in sliders. Below is a practical playbook: minimal gear, numeric targets, and trade-offs explained plainly so you can make steady progress on any camera, including a phone.
Gear That Matters (And What Doesn’t) in Photography for Beginners
Sensor size is the quiet driver of image quality. A full-frame sensor has about 2.3–2.6x the area of APS-C and roughly 7–8x that of a typical phone sensor; bigger sensors need less amplification for the same light, which lowers noise and generally adds about 1–2 stops of usable ISO. In practice, you will notice this past ISO 1600 in dim interiors: APS-C bodies can produce clean 12×18 inch prints at ISO 1600–3200, while full-frame stretches comfortably to ISO 3200–6400. Phone cameras mitigate the gap with multi-frame stacking, which works well for still scenes but fails on moving subjects because alignment breaks.
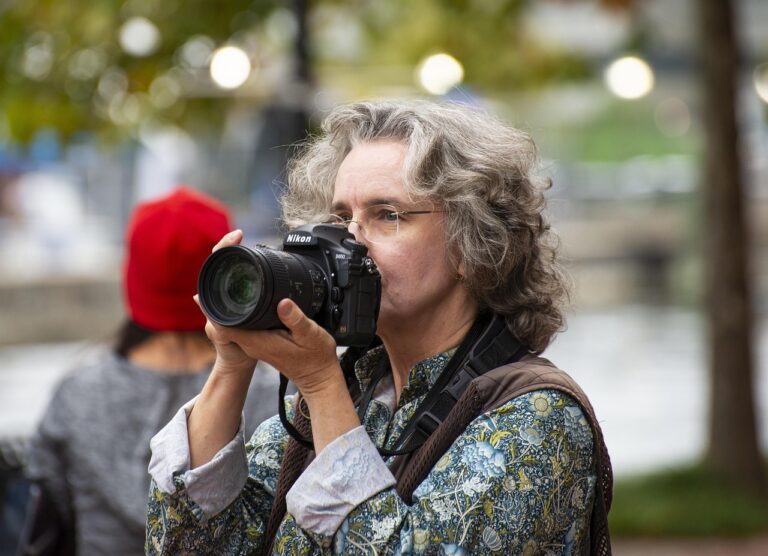
If you can buy only one lens to learn, pick a 35mm or 50mm prime (f/1.8) for your system. On APS-C, a 35mm acts like ∼52mm equivalent; on Micro Four Thirds, a 25mm yields similar framing. Compared with a kit zoom at f/3.5–5.6, a prime at f/1.8 gathers ∼2–3 stops more light and creates background separation at normal subject distances. Example: at 2 meters with a 50mm f/1.8 on APS-C, depth of field is on the order of a few centimeters thin enough to isolate eyes from ears so your focus precision must rise too. Price is typically $100–$250, weight under 200 g, and performance per dollar is hard to beat.
Spend next on utility, not bragging rights. A sturdy support at under 1.5 kg helps only for landscapes, night, or time-lapse; for people and street, stabilization in-lens or in-body gives 3–5 stops of shake reduction but cannot freeze moving subjects. Buy a second battery (cold cuts capacity ∼20–30%), two fast SD cards (UHS-I V30 is enough for stills and 4K30 video), a $20 5-in-1 reflector, and a comfortable strap. Skip UV filters (no benefit on digital); consider a circular polarizer for skies and reflections and an ND filter only if you intentionally want slow shutter speeds in daylight.
Exposure And Focus: The Minimum Math
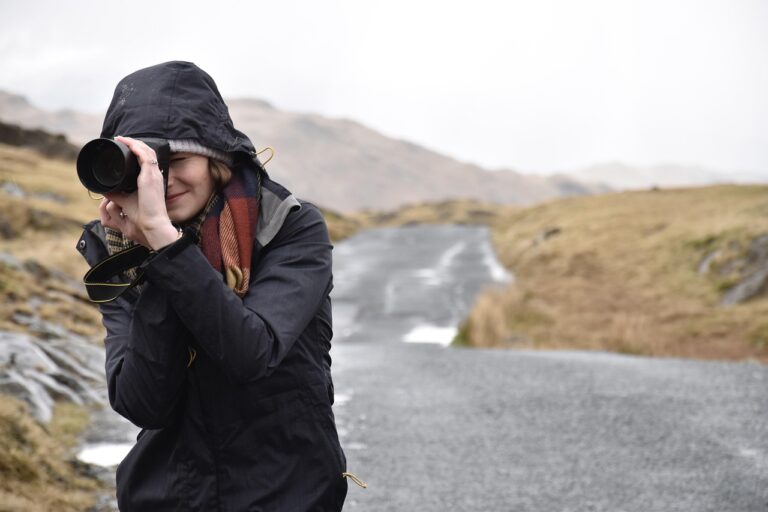
Shutter speed first: choose for subject motion, then stability. As a baseline, use 1/focal length for handheld static subjects, adjusted for crop. For a 50mm on APS-C (75mm equivalent), 1/125 s is the minimum; stabilization may let you handhold 1/30 s, but people will still blur if they move. Practical targets: casual portraits 1/200–1/250 s, kids running 1/500 s, field sports 1/1000 s, birds 1/2000 s. For intentional motion blur or panning, try 1/30 s and follow the subject smoothly; expect a low keeper rate until your timing improves.
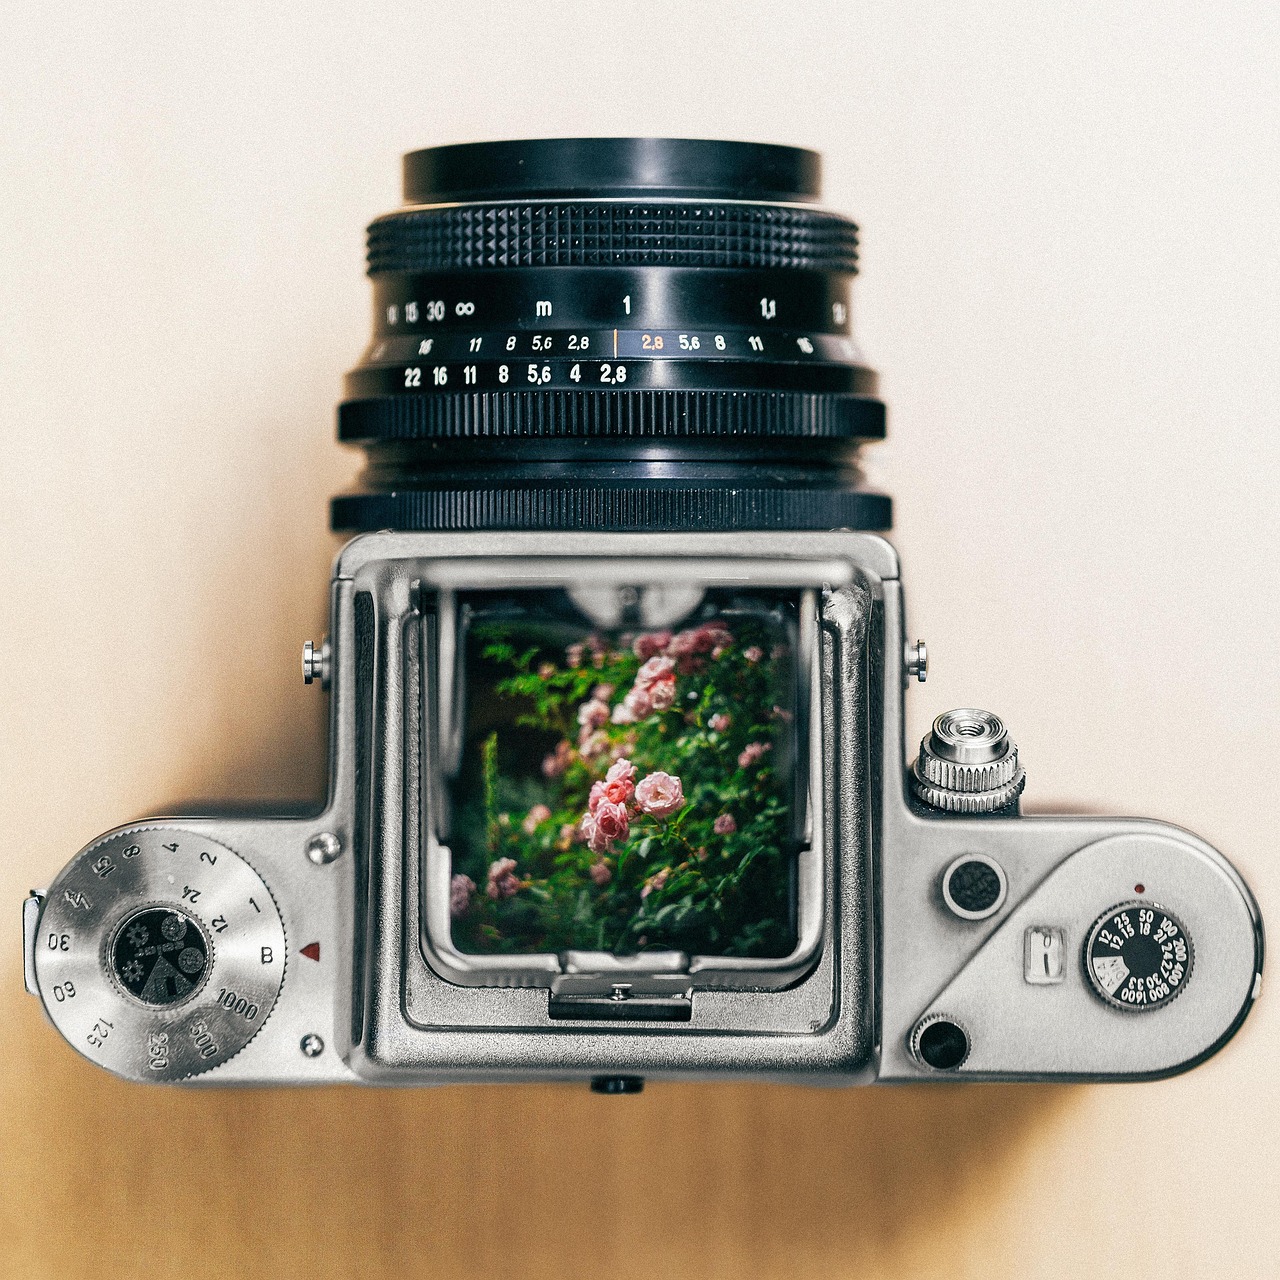
Aperture is both light and depth-of-field control. Wide open (f/1.8–f/2.2) isolates subjects and keeps ISO lower indoors but magnifies focus errors and lens aberrations. Most lenses sharpen by 1–2 stops when stopped down; on many f/1.8 primes, f/2.8–f/4 hits a sweet spot. Diffraction softening is noticeable on smaller sensors beyond about f/11 on APS-C and f/8 on Micro Four Thirds; use those apertures only when you need extra depth or slower shutter speeds.
ISO is the amplifier. Each doubling is one stop: ISO 800 to 1600 adds the same brightness jump as 1/125 to 1/60 s. Keep ISO as low as your shutter and aperture allow for the scene. Typical comfort levels: phones look fine to the eye up to about ISO 400–800 in good light thanks to computational denoising, APS-C stays clean to 1600–3200, full-frame tolerates 3200–6400 before fine detail erodes. When light is scarce and motion exists, prioritize shutter speed, accept higher ISO, and plan to reduce noise in editing.
Metering and histogram help you protect highlights the part of the image that, once blown, rarely returns. Enable the histogram and highlight warnings. In high-contrast daylight, dial exposure compensation to -0.3 to -1.0 EV to keep skies from clipping. If you shoot RAW, set your camera to RAW+JPEG while learning; a 24 MP RAW is typically 20–30 MB, a JPEG 6–10 MB, so a 64 GB card holds roughly 1,500–2,000 mixed frames. RAW preserves about 1–2 stops more recoverable detail, especially in shadows, but requires editing; JPEG gives good color out of camera if you nail exposure.
Why Deliberate Practice is the Best Photography for Beginners Curriculum
I always tell my students: the biggest barrier to progress isn’t gear; it’s the lack of a structured practice loop. You’re trying to learn photography for beginners, and that means moving from seeing to doing.
The Single-Constraint Challenge: The fastest way to force mastery is to impose a single, strict constraint for a week. Shoot only at f/8. Shoot only at 1/100 s. Shoot only using the 50mm lens. Why? Because it kills the overwhelm of choice and forces your brain to solve composition and light within that fixed rule. You will immediately start seeing the world through your f/8 aperture, noticing when the depth of field is too shallow or too deep. That’s true learning.
The Review Ritual: You must review your failures more than your successes. Most courses teach you the theory; they don’t teach you self-correction. Look at your blurred shot and ask: Did I fail on shutter speed? Was the subject too close for my f/1.8? If you can diagnose the error from the EXIF data, you’ve earned a skill point. Treat your first 10,000 bad photos as your education tuition. Education in photography isn’t about collecting equipment; it’s about collecting data on your mistakes. This disciplined, deliberate study habit is what separates the long-term expert from the eternal beginner.
Light, Color, and Composition: Practical Recipes
Soft light forgives; hard light reveals. Overcast skies and window light from a broad source create soft transitions and eye-pleasing skin. Around midday, the sun acts like a small, harsh spotlight: shadows cut under brows and noses and dynamic range exceeds what sensors can hold. Solutions cost nothing: move subjects into open shade, turn faces toward the brightest patch of sky, or place them one meter from a large window at a 45-degree angle. Golden hour the 20–45 minutes after sunrise or before sunset lowers contrast and warms color temperature, making it easier to expose both skin and sky without clipping.
White balance sets the color of neutrality. Daylight sits near 5200–5600 K, shade often 6500–7500 K, tungsten about 2700–3200 K. Auto white balance is versatile but can drift between frames, which complicates batch edits. A simple approach: pick a consistent preset (Daylight outdoors, Tungsten under bulbs), shoot RAW to allow correction later, and avoid mixed light when possible. Watch the red channel for skin; clipping there leads to blotchy complexions. If faces look dull under shade, bump exposure by +0.3 EV or raise the reflector to fill shadows rather than cranking saturation.
Composition rewards deliberate framing. Place the subject’s eyes about one-third from the top for portraits and leave look-space in the direction of gaze. Scan edges for distractions bright patches, sticks, exit signs and change your height or angle to exclude them. Background control beats any filter: taking three steps closer often removes clutter and increases subject-to-background distance, which boosts blur even at modest apertures. Keep horizons level; a crooked horizon by 1–2 degrees is visible in seascapes and architecture and distracts more than most color errors.
Focal length shapes perspective through distance. For environmental context, 24–28mm pushes you closer, exaggerating near elements; stand 0.5–1.5 meters from your subject and watch for edge distortion in faces. For street and everyday, 35mm lets you work at 1–2 meters without shouting across space. For portraits, 50–85mm at 1.5–2.5 meters keeps features natural and backgrounds pleasantly compressed. Remember, compression is a function of camera-to-subject distance, not the lens itself; if you like a compressed look, step back and adjust focal length to reframe.
Workflow And Progress: From Capture to Edit
Culling is the cheapest performance boost. Aim for a 5–10% keep rate on learning shoots; select only the frames that are both emotionally strong and technically sound. First pass: reject blinks, misfocus, and awkward gestures quickly without zooming. Second pass: check the few candidates at 100% for sharp eyes and clean edges. Read the EXIF of your keepers shutter, aperture, ISO and note patterns. If all your sharp frames share 1/500 s and higher, that is your new minimum for action.
Editing favors a consistent order. Start with exposure and white balance. Set white and black points until the histogram just kisses the ends without clipping; many images tolerate Whites +10 to +20 and Blacks -5 to -20 as a starting range. Add a touch of contrast and clarity sparingly (+5 to +10) and favor vibrance over saturation to protect skin. For sharpening on 24 MP files, try amount 40–70, radius 0.7–1.0, detail 20–40, masking 60–90 so flat areas stay smooth. Noise reduction: luminance 10–30 for ISO 1600–6400, color 20–30 to tame chroma speckling. Export for web at 2048 px on the long edge, JPEG quality around 80%, and sRGB color space; for small prints, export at 300 dpi with minimal compression.
Backups guard against the only failure you cannot retake. Use the 3-2-1 rule: three copies, on two different media, with one off-site. For a beginner’s library of 5,000 RAW+JPEG pairs (roughly 150–200 GB), a 1–2 TB external SSD covers one local copy; add a cloud plan or a second drive stored elsewhere as the off-site. Format cards in-camera after copying and verifying files, not on your computer; avoid deleting single images on-camera to reduce the risk of filesystem errors. Label folders by date and brief description (2025-03-08_park_portraits) so future you can find things fast.
Practice loops accelerate improvement. For 30 days, pick a constraint one focal length, one hour after work, or one theme like “hands” and make 30–50 frames per session. Review weekly, choose your best three, and write why they work in one sentence each. Ask for critique from photographers who show work you admire; request feedback on composition and light, not gear. Know your local laws: in many countries, photographing people in public is legal for editorial use, but commercial use typically requires a model release. Private property owners can restrict photography; if someone in authority asks you to stop on their property, do so and move on.
Conclusion
Keep the camera simple, the choices few, and the feedback fast. Use one small prime, set shutter for motion first, and expose to protect highlights. Seek soft light or make it with a window and a reflector. Cull ruthlessly, edit lightly, and back up by rule. If you are unsure what to do in the moment, follow this sequence: ask what is moving, set shutter accordingly, open aperture until depth fits your subject, raise ISO to match, and step your feet to clean the frame. Repeat often; improvement compounds faster than gear does. Are you ready to ditch Auto mode today and commit to one week using only a prime lens?